Shop-by-hand: Pouring the Foundation.
The timber frame is 12’ wide by 16’ long, dimensions established by the sill system: 12’ corner to corner on the short sill, with a long sill measurement of 16’. The frame is located on gravel parking space in my backyard, which slopes away considerably near the retaining wall. As the frame is only 16’ long, I was able to position it such that I both exceeded the alley setback requirements of my city, and avoided the worst of the slope.
Dry fitting one corner of sill system as a sanity check on day 2.
I used concrete piers for my foundation: simple, inexpensive, easy to compensate for slope, and with plenty of precedent for small timber frames such as mine. My piers are formed by 4’ long, 10” diameter sonotubes which are a size up from Will Beemer’s recommended 8”. The cost and difficulty to increase the size was negligible, and I was concerned about the weight of a multi-layer oak frame on a slope such as mine. In retrospect, it may have been worth going all the way up to 12” diameter tubes if only for the peace of mind that comes with buying the largest forms Lowe’s has to offer. But 10” forms exceeded both the requirements of my local building requirements and Beemer’s recommendation. That was sufficient for me at the time.
The frame has a pier under each of its 6 posts, the piers being inset slightly to allow the sheathing to extend down past the sill. Again, in retrospect, this inset was unnecessary given my wrap-and-strap enclosure system. I ended up building out the walls an additional 2 inches before my final layer of siding and thus could have made the outside dimensions of the piers exactly 12’ x 16’. Each pier extends 3’ below grade and “mushrooms” out at the bottom of its hole. Each pier is also reinforced with four pieces of #4 black steel rebar bent in the shape of a J which “hook” into the mushroom. Finally, a 6” piece of galvanized threaded rod was inserted about 4 inches deep into the center of the pier which would later be used to secure a pressure treated 2x10x16 subsill.
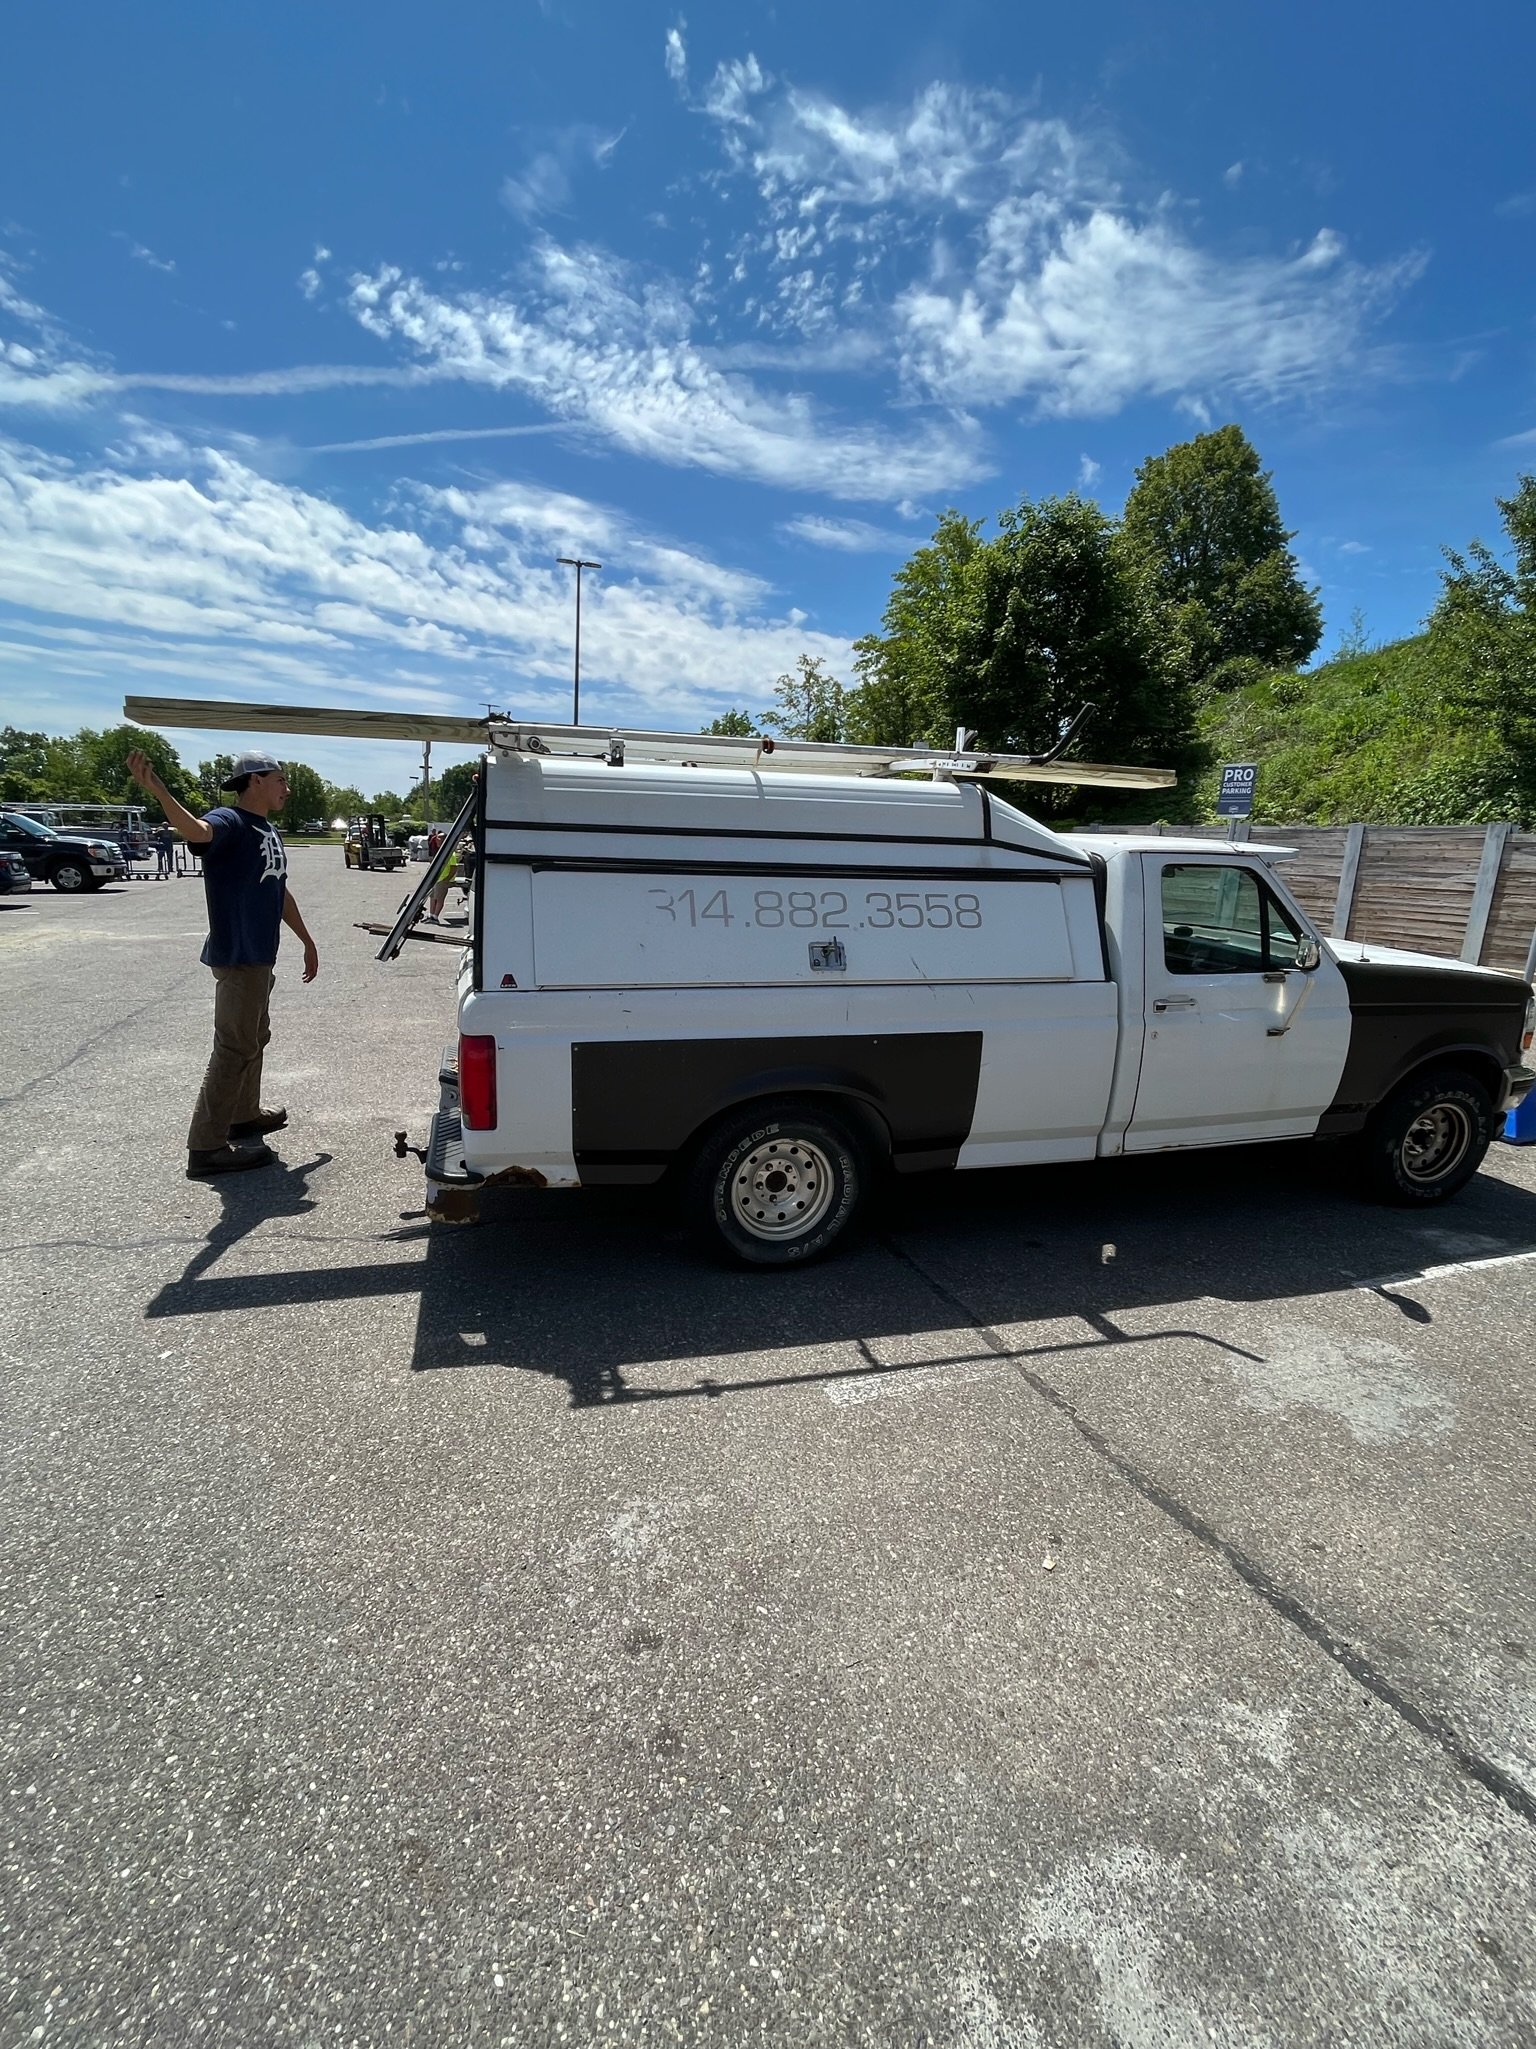
My overloaded ‘96 pickup. We used exactly 30, 80lbs bags of concrete, picked up in two cars.
Not pictured is the gas powered auger we borrowed to dig the bulk of the holes. My $1 yard sale post hole diggers were the perfect tool for widening the hole.
Having a crew of family helped share the burden of mixing concrete by hand.
Indispensable to any good concrete crew is a brother with long arms. Here, Jacob digs out the mushroom with a trowel. This could be partially accomplished with a shovel, but long arms and a trowel proved to be the best way of achieving a nicely rounded base.
Not visible: four pieces of bent rebar inside the sonotube already positioned in the poured mushroom. We slid the sonotube overtop of them, and then pushed/twisted it down onto the mushroom.
Adjusting the rebar before topping off the pour.
Cross-checking for level.
The finished piers, awaiting backfilling. We checked for level with a 16’ 2x4 used as a straight edge and measured corner-to-corner to check square.


